Here’s a quick tutorial on an HDR control node in Blender. The point is to be able to control the background intensity and the lighting separately. It also gives you the option of having separate background and lighting.
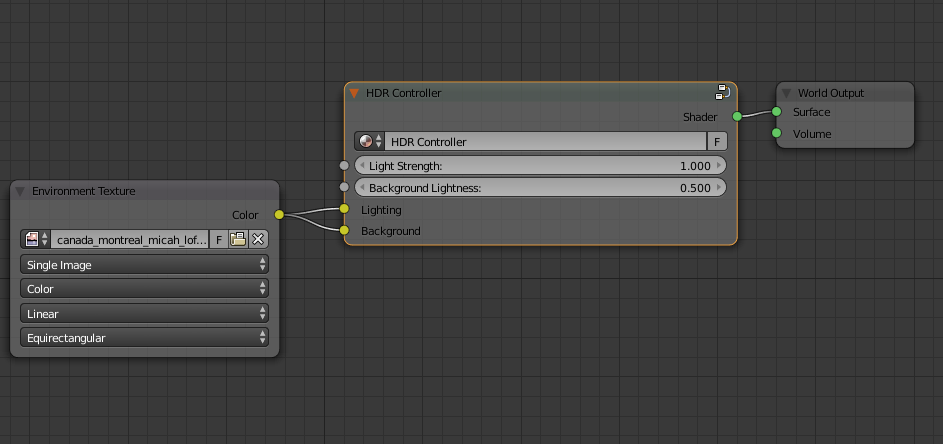
Here is the node as it would be used in the Node Editor.
Here is what you need to put inside the node.
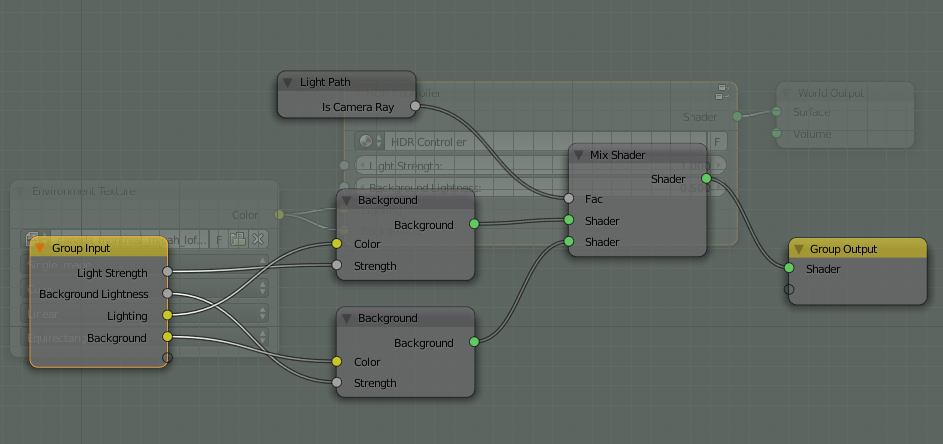
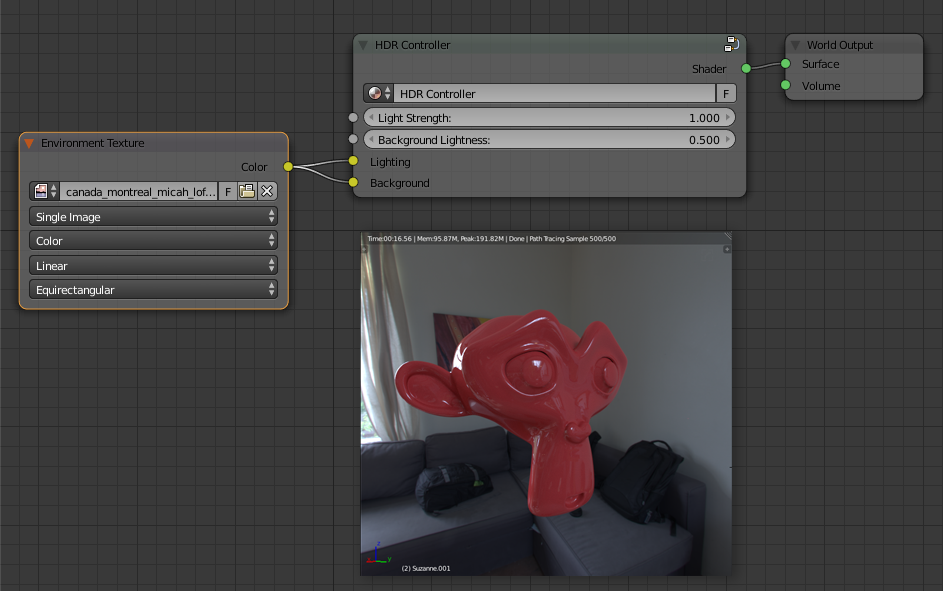
When both inputs are connected to your environment map, the background and lighting are unified and you have independent brightness control.
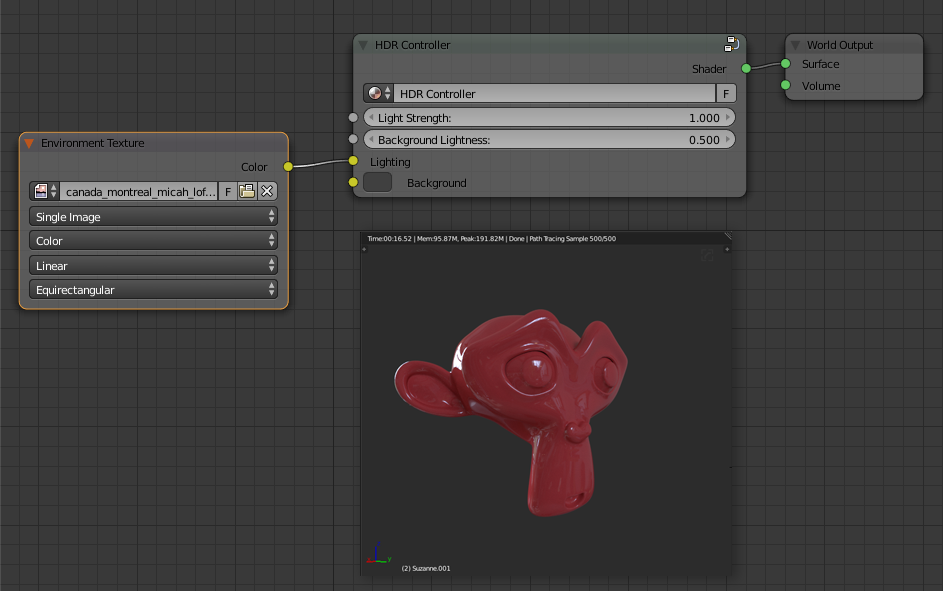
You can disconnect the background to use a different map, or just a colour for the background.
If you want more control, add texture coordinates to the Environment Texture. This will let you rotate, etc the background.
You can expand this to include control for Gamma, Saturation, Colour temperature, etc if you need these things.
To use this in other scenes, use File / Append / Node Tree to bring this node group into your Blender scene, then use Add / Group in the Node editor to add it to your environment material.